|
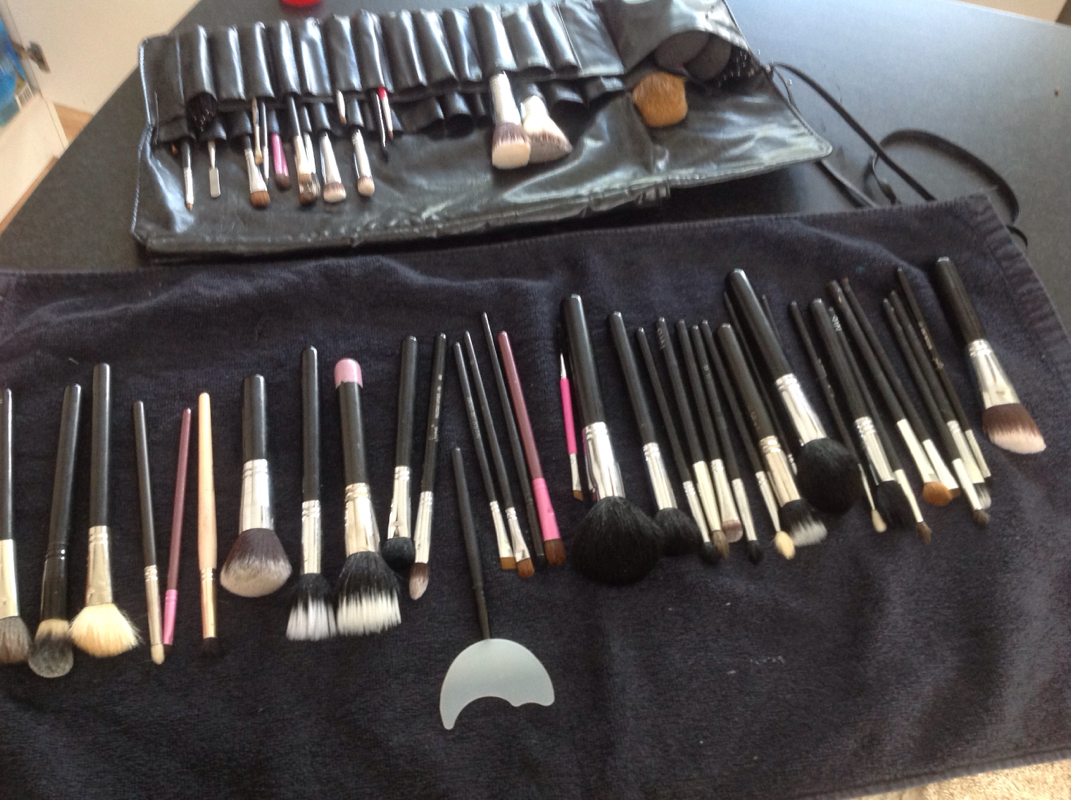
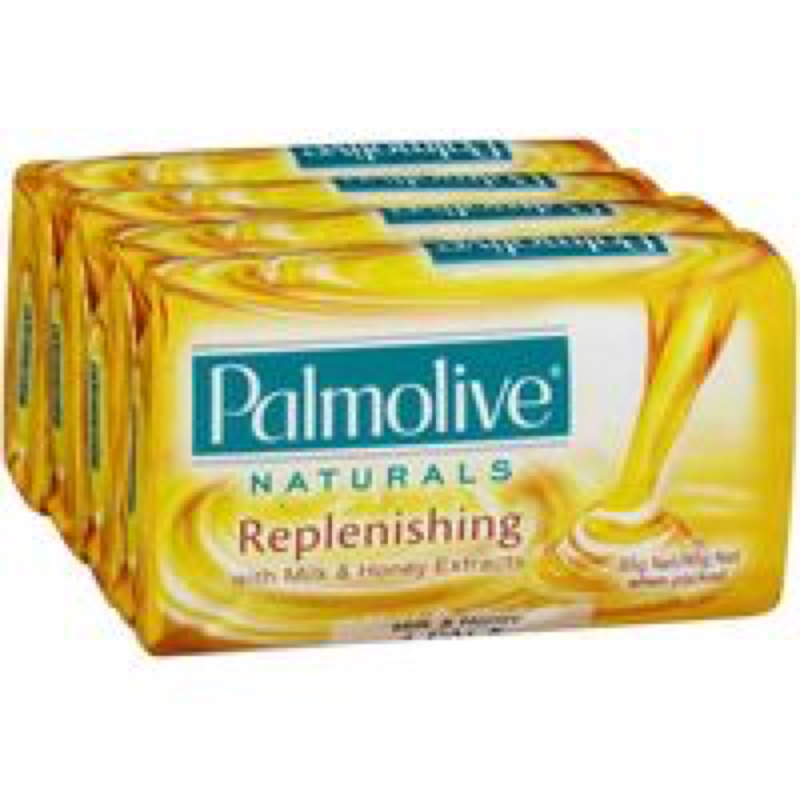
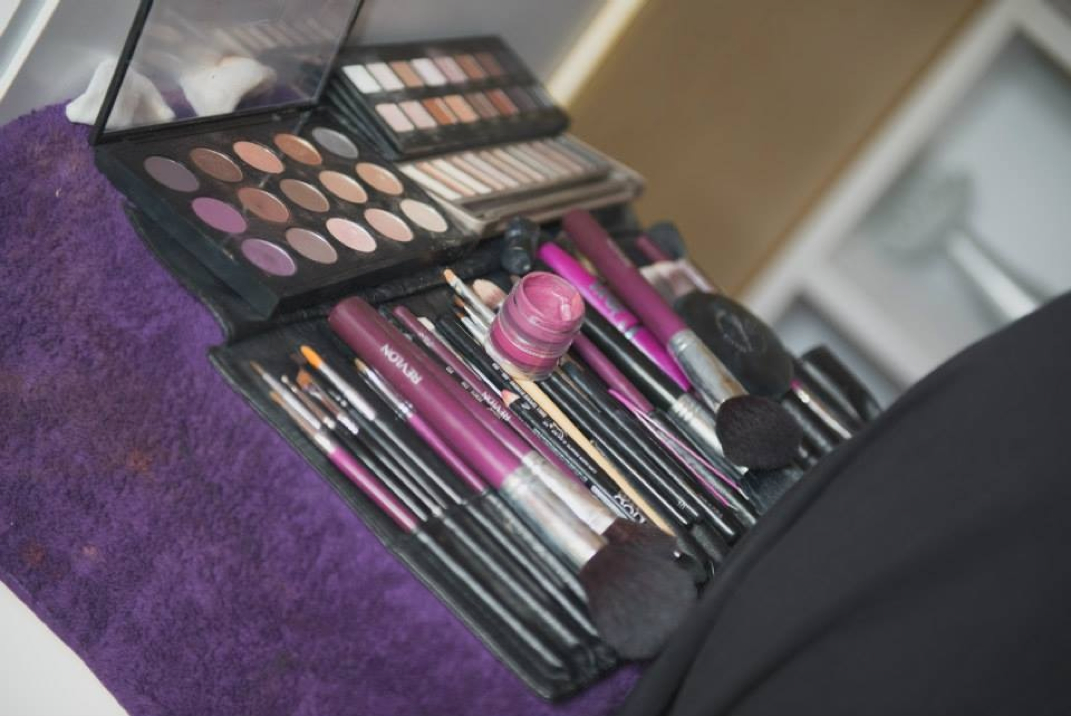
I have to clean my brushes everytime I use them. As a professional, I can't show up to a job with dirty brushes. It's just gross. After years of doing it I think I've got it down to a fine art. I do this so many times every week depending how often I'm working. I try to do it as soon as I get home if I have no more clients for the day but more often than not I will remember when I'm about to jump in to bed and have an early client the next morning. Typical. For home use I recommend using this method on your personal brushes at least once a month and more often on your foundation type brushes. Here's the easiest and most hassle free yet effective way I clean my brushes. I don't buy any special brush cleansers or shampoos. I use my trusty bar of Palmolive naturals soap. It is AMAZING (and soooo cheap). It gets everything out of my white foundations brushes, gets red lipstick out of my lip brushes and black eyeliner out of my eyeliner brushes. All I do is run the tap on a warm temperature and swirl the brush around on the bar of soap. Then swirl it round on the palm of my hand and foam it up to get the soap deep down into the bristles then do the same again under the water continuously squeezing the water out until the water runs clear. And VIOLA - clean brush, leaving it so clean and bacteria free. I then dry them by squeezing the excess water into towel and lay it flat on the towel, making sure it's back to its intended shape. Then, just to be on the safe side, I spritz them all with a hospital grade sanitizer. Then I put them in the hot water cupboard overnight and they are always dry by the morning. A couple of the denser kabuki brushes may take a bit longer. Just make sure they are spread out on the towel not all bunched together. In between clients on a busy day I clean most of my brushes with isopropyl alcohol on a paper towel. This kills any bacteria and gets most of the product off and leaves it dry enough to be able to use again instantly, but it doesn't bring the brush back to its original colour so the first method I do everynight after work. For really stubborn stains my last resort is good old sard wonder soap which I'm sure everyone has in their laundry, this stuff isn't just great for getting stains out of your white clothes, it has a gentle bleaching agent so makes your white brushes as white as when you first bought them, But most of the time the pamolive soap works wonders. If you have anything you think I should add or any questions please don't hesitate to comment below.
1 Comment
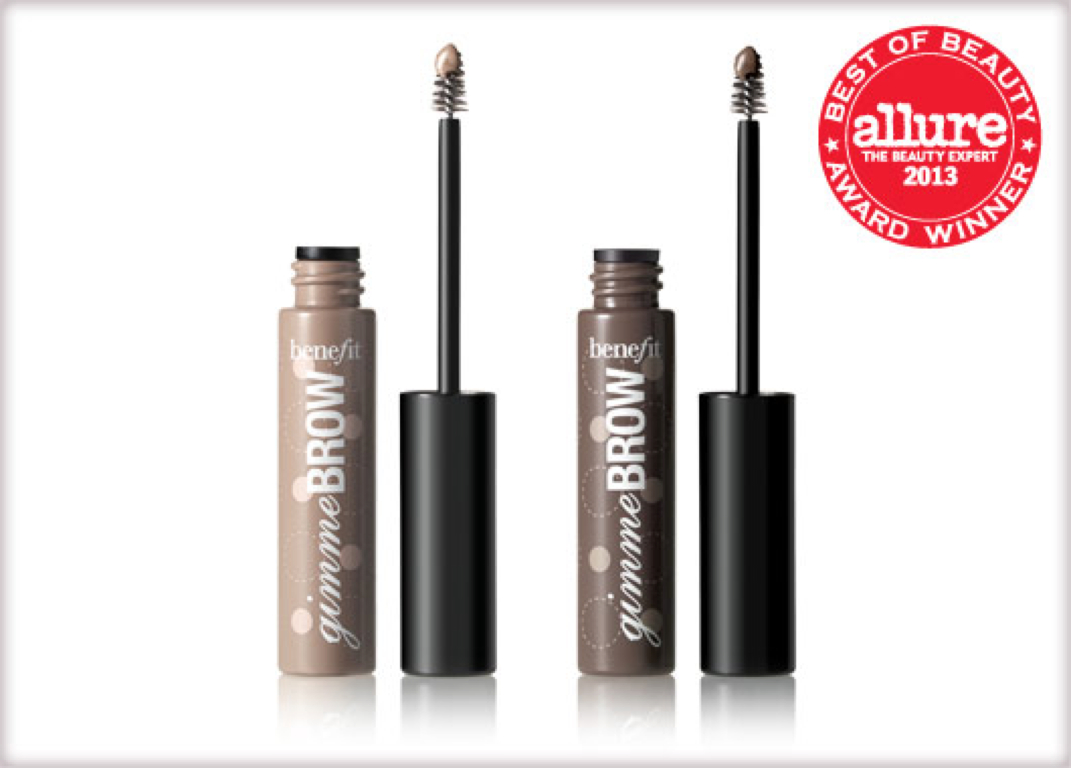
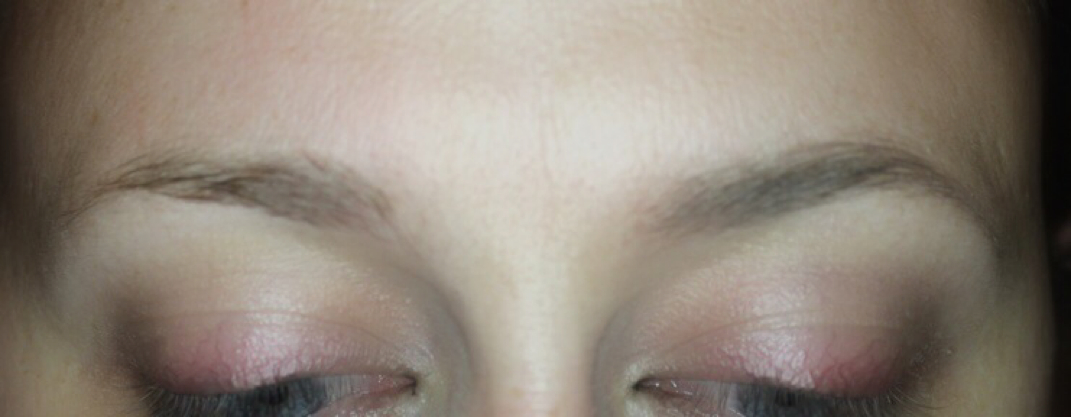
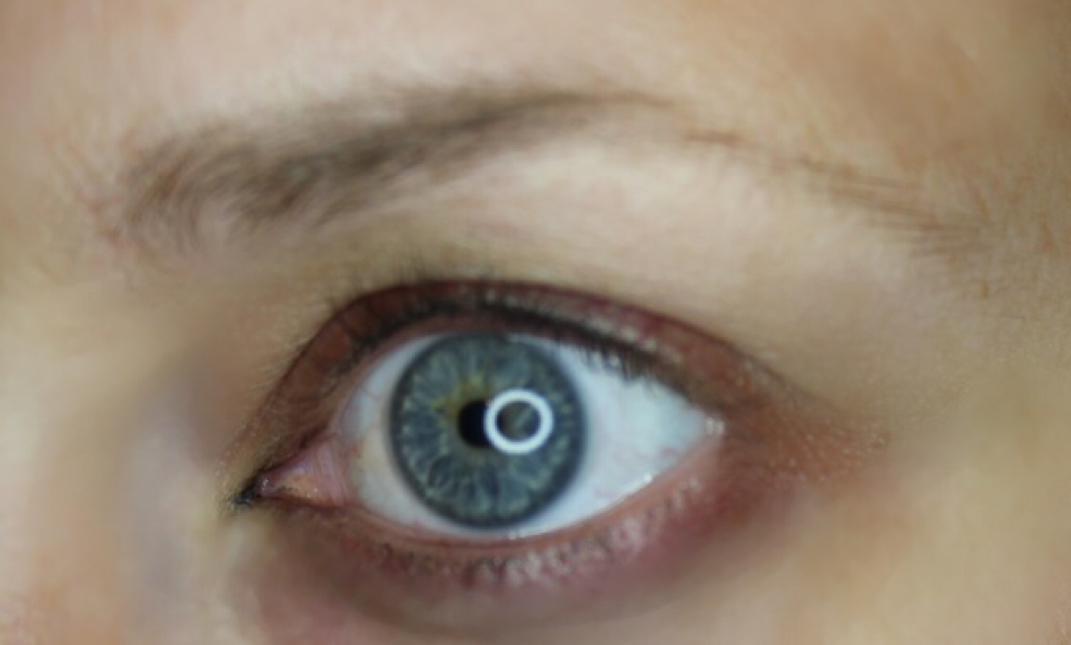
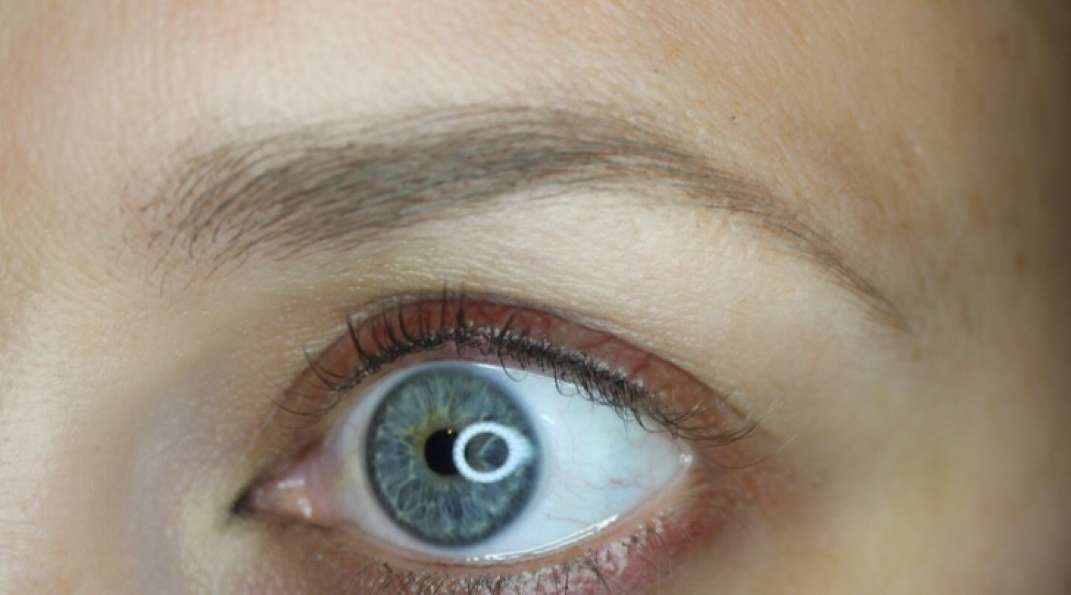
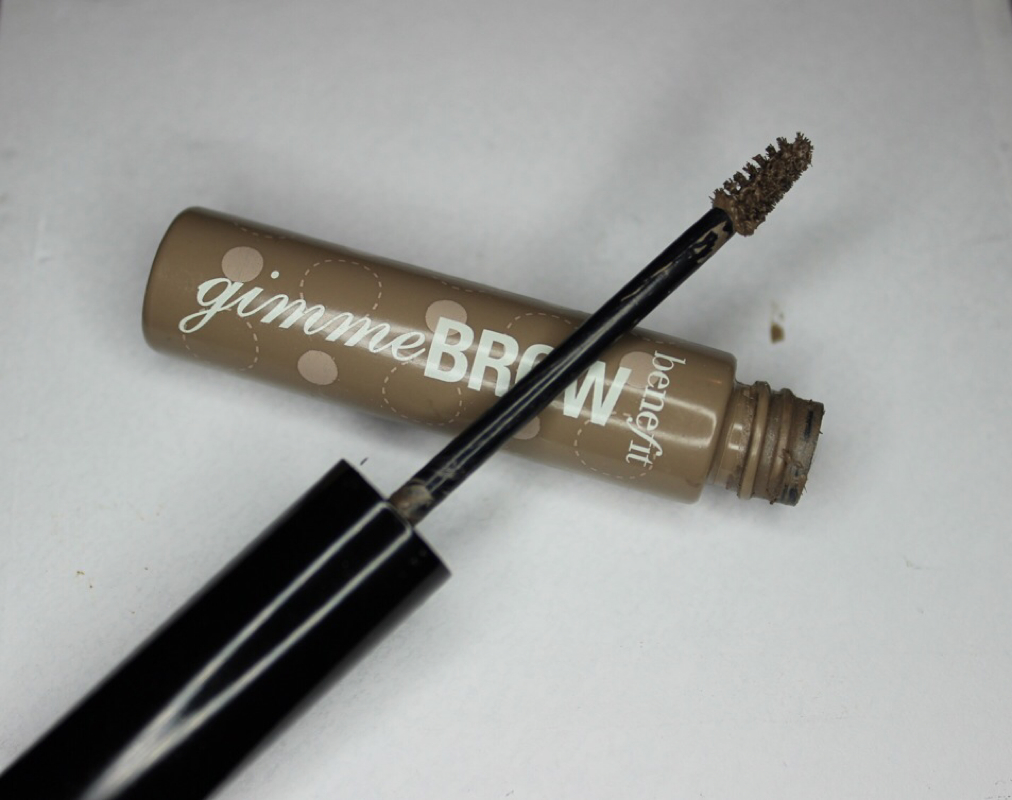
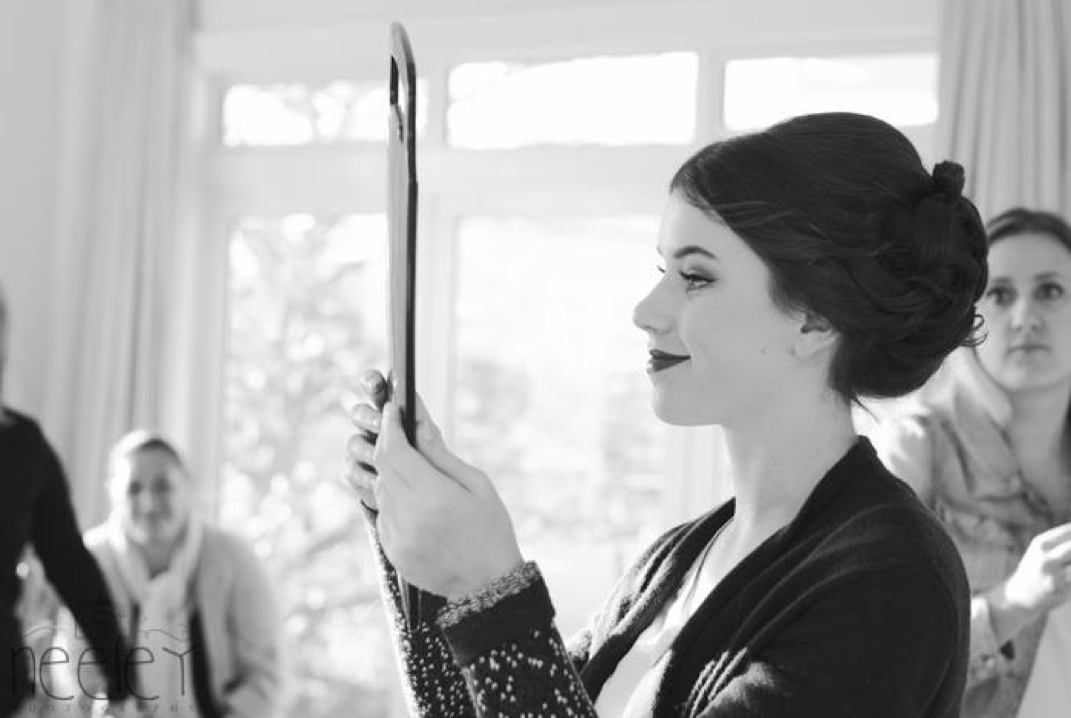
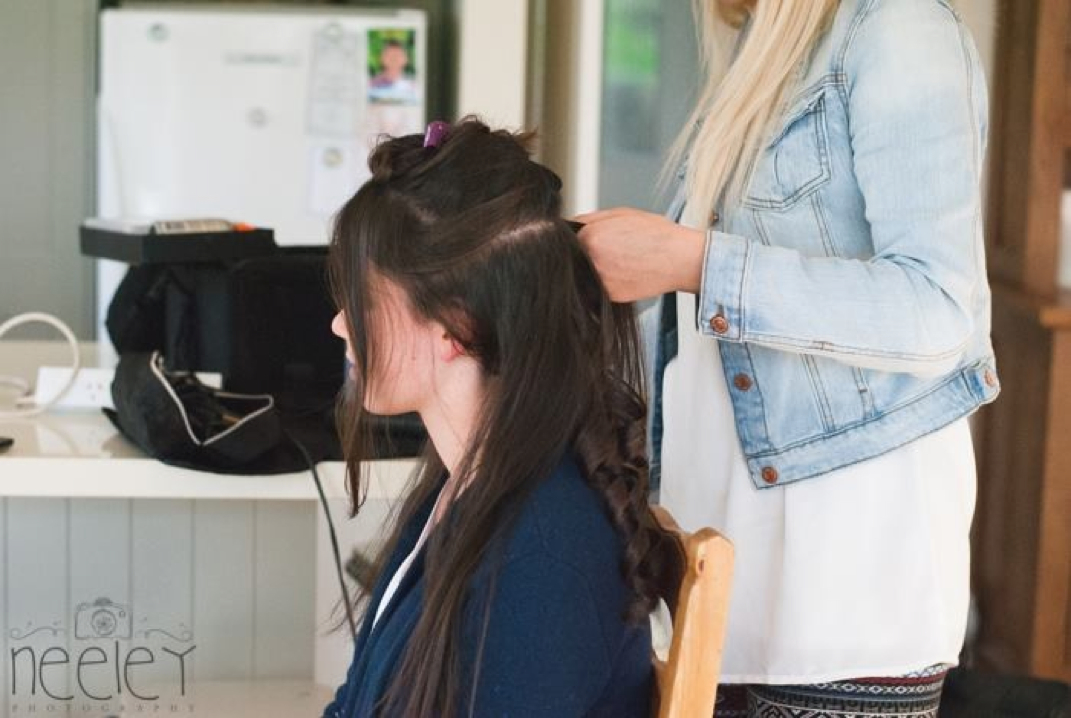
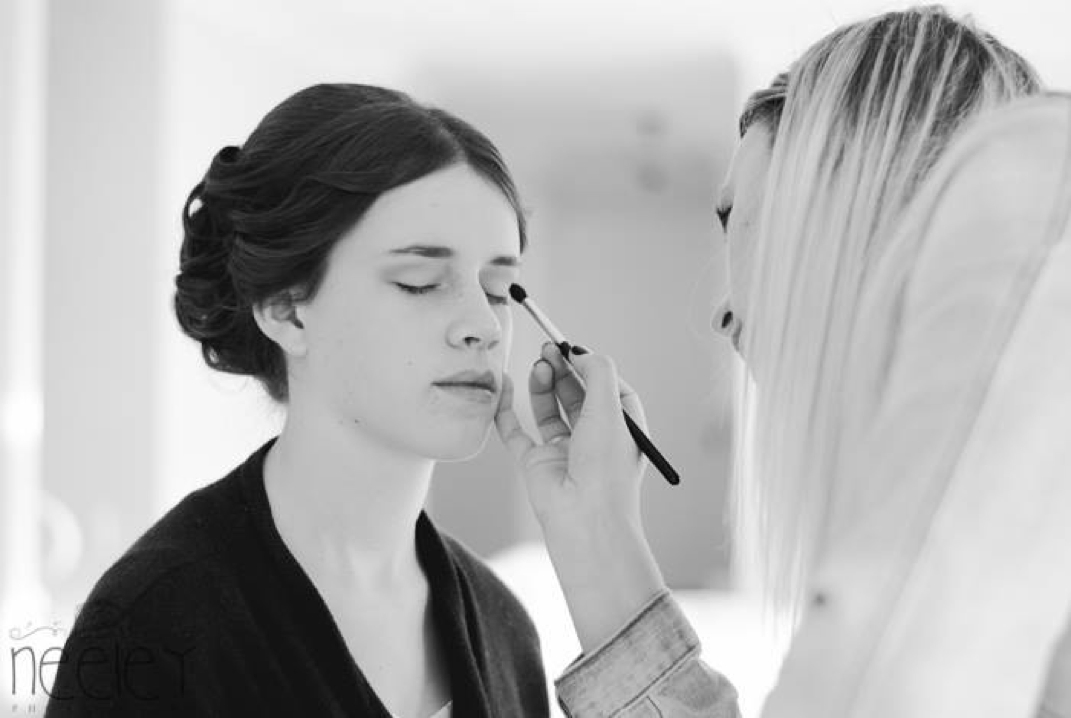
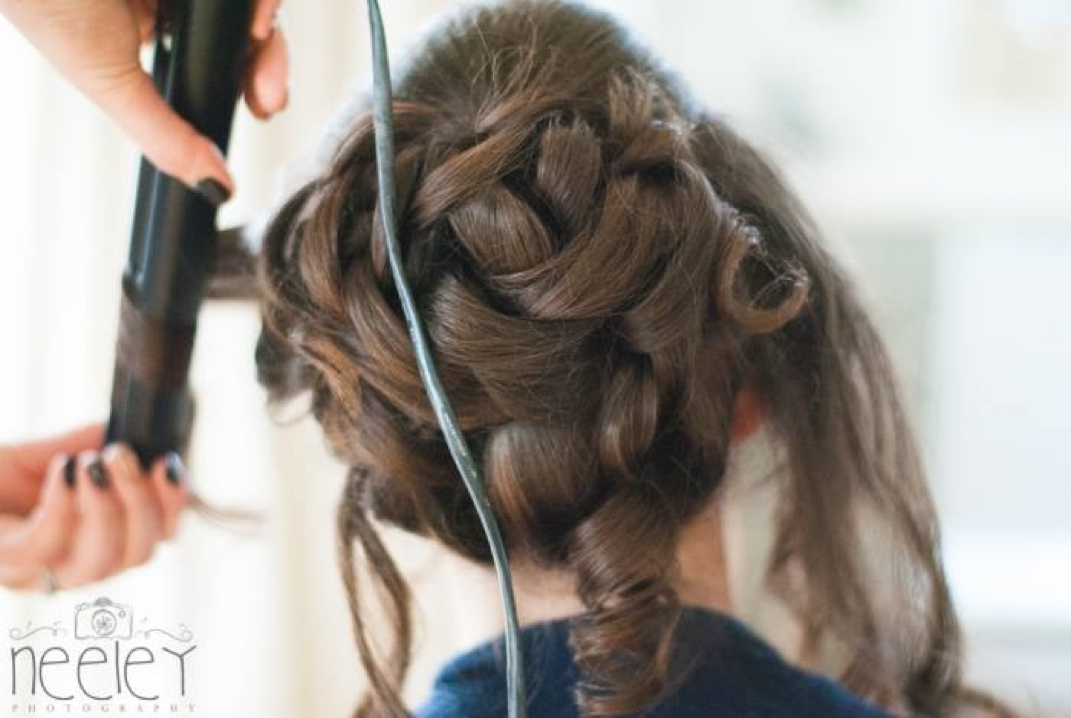
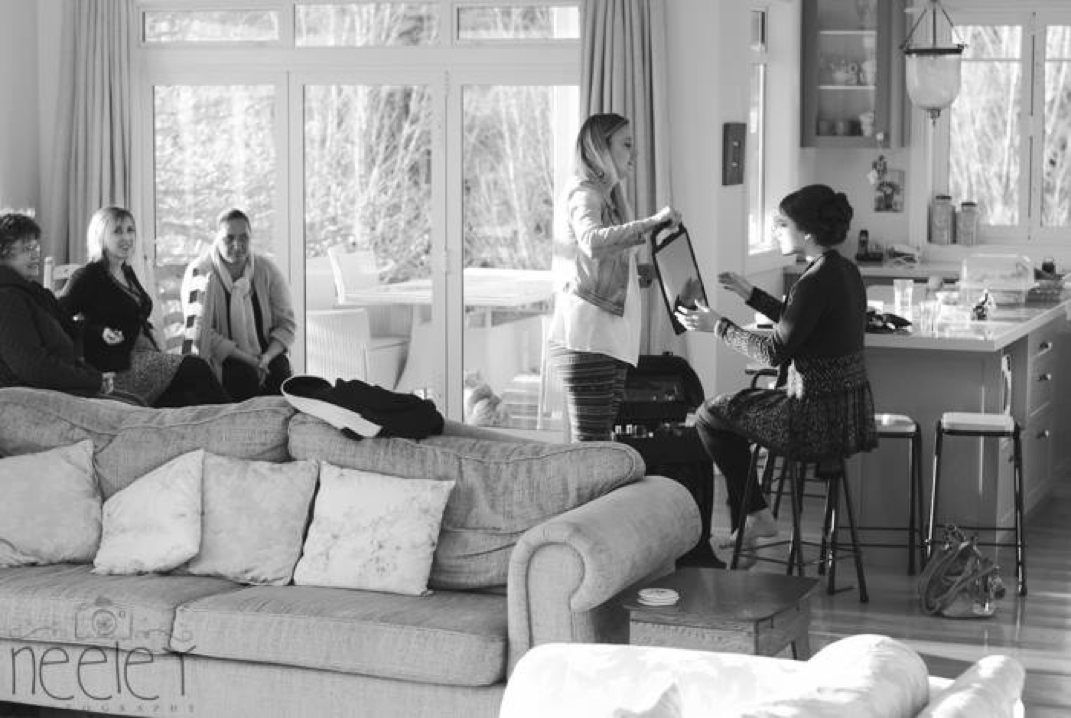
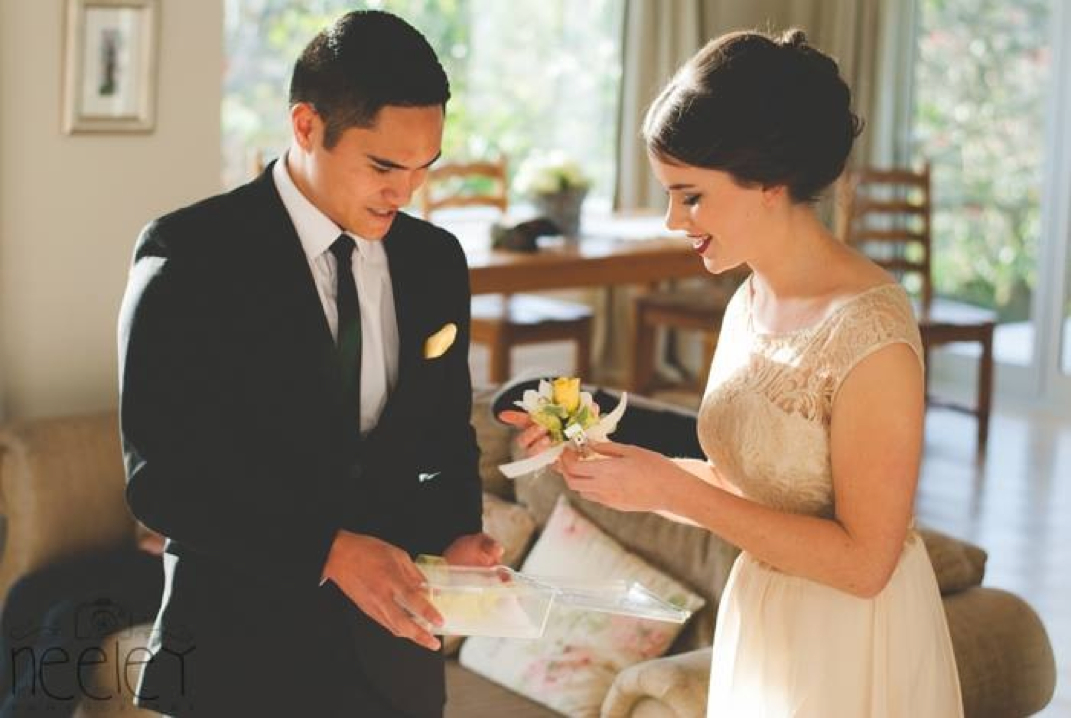
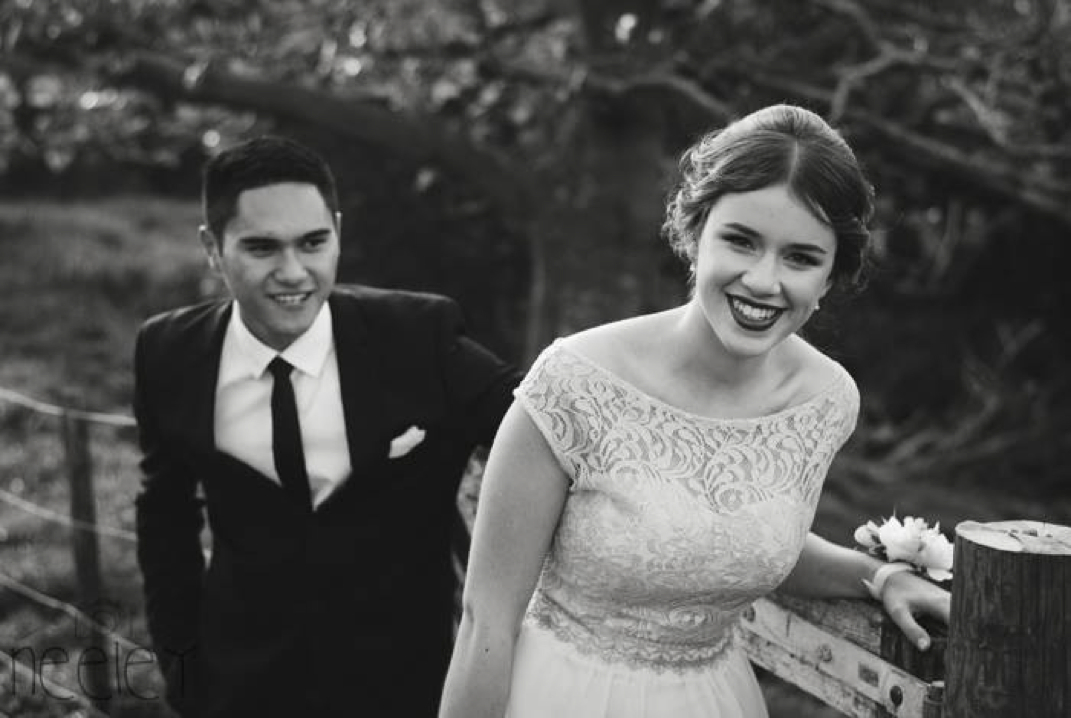
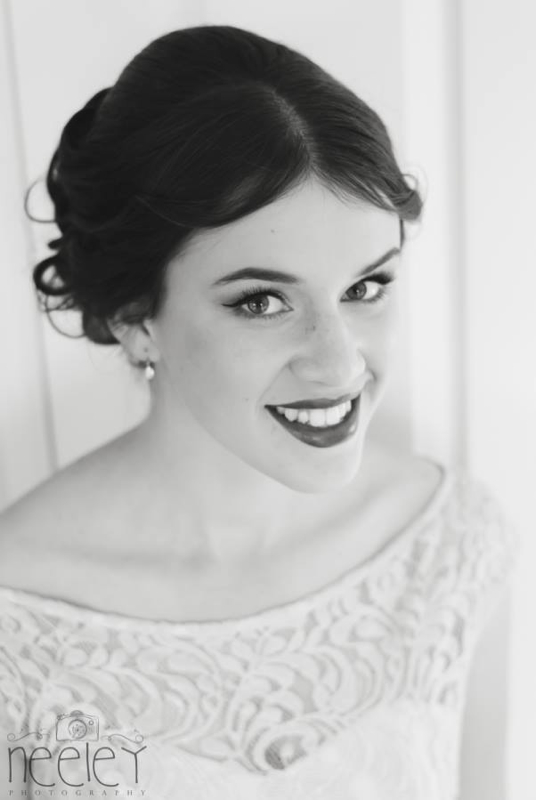
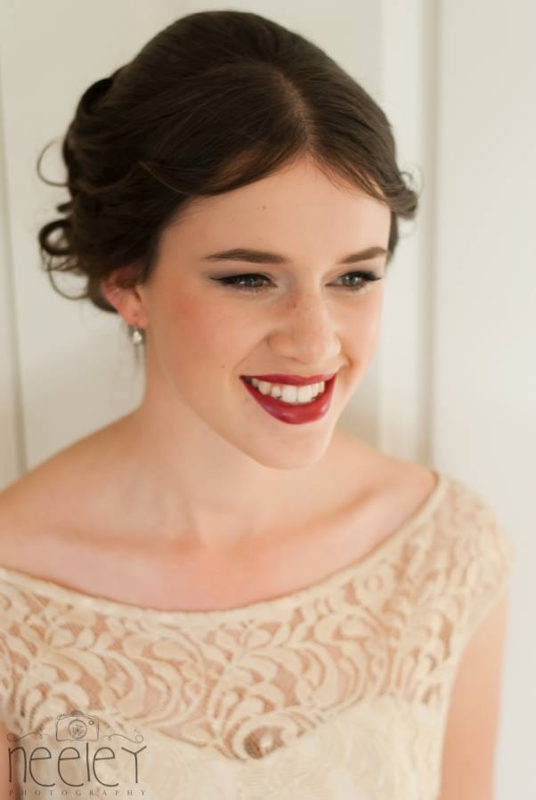
I had heard the hype about this product so naturally I had to try it. And I gotta say, I wasn't sure it would do much for my sparse brows. It's described as a brow volumizing fibre gel. It has tiny fibres in the coloured gel which helps to add volume. To my delight it has now become a product a can't do without. In 10 seconds it volumizes, darkens, tidies and fills in my brows. It has kind of a matte texture so your brows still look natural, not shiny and waxy. It is great on its own when I am just popping out to supermarket or gym. Just brush through you brows with an upward/outward motion. Then add a pop of mascara and a bit of concealer where needed. Or with a full face of makeup using brow powder or my favourite, the Anastasia Beverly Hills dipbrow pomade to fill in and get a more glam shape. And then finish with the gimme brow to add volume. Hopefully you can see from the pictures the difference it makes. I have the light/medium shade. I have naturally medium blonde eyebrows. It's also available in medium/deep. I had the pleasure of doing Emily's hair and makeup again this year for her school ball and, lucky me, she had her family friend Neeley come and take some amazing photos of her before she left for her pre ball. Usually for school ball hair and makeup work we only get pictures on our iPhones or shots from the ball photographers, which are great but don't usually show much detail in the hair and makeup. I totally loved her elegant look and dress, just so gorgeous. Photography by Neeley photography www.neeleyphotography.net Here are some gorgeous photos taken by the always amazing Kat and Warren at Williams photography.
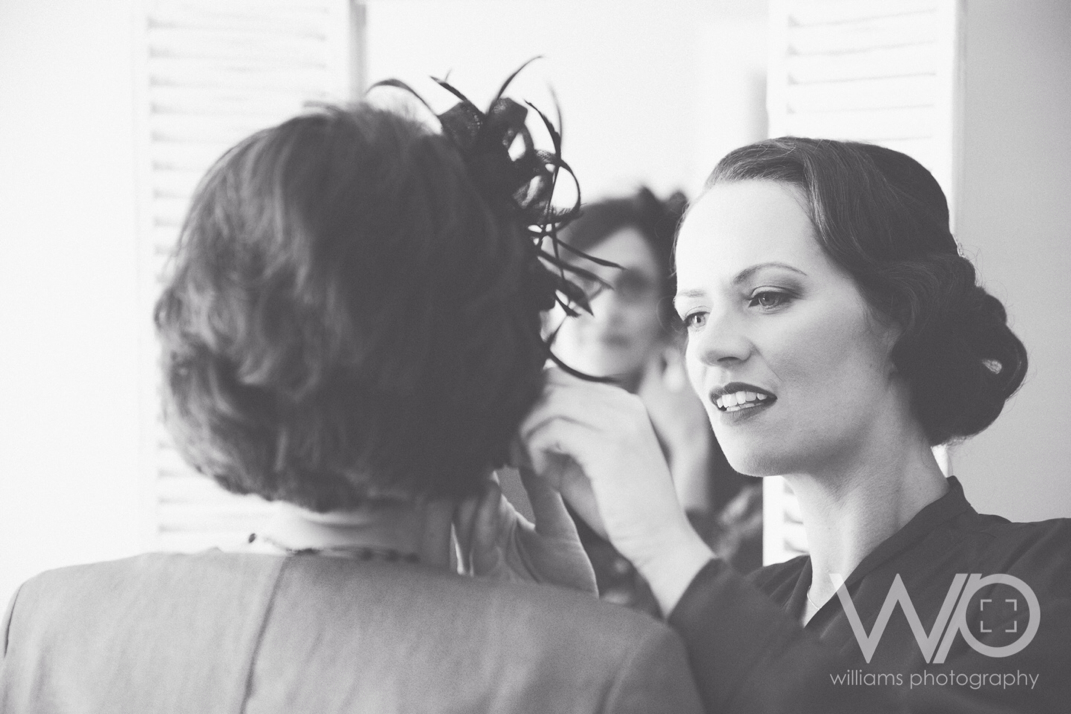
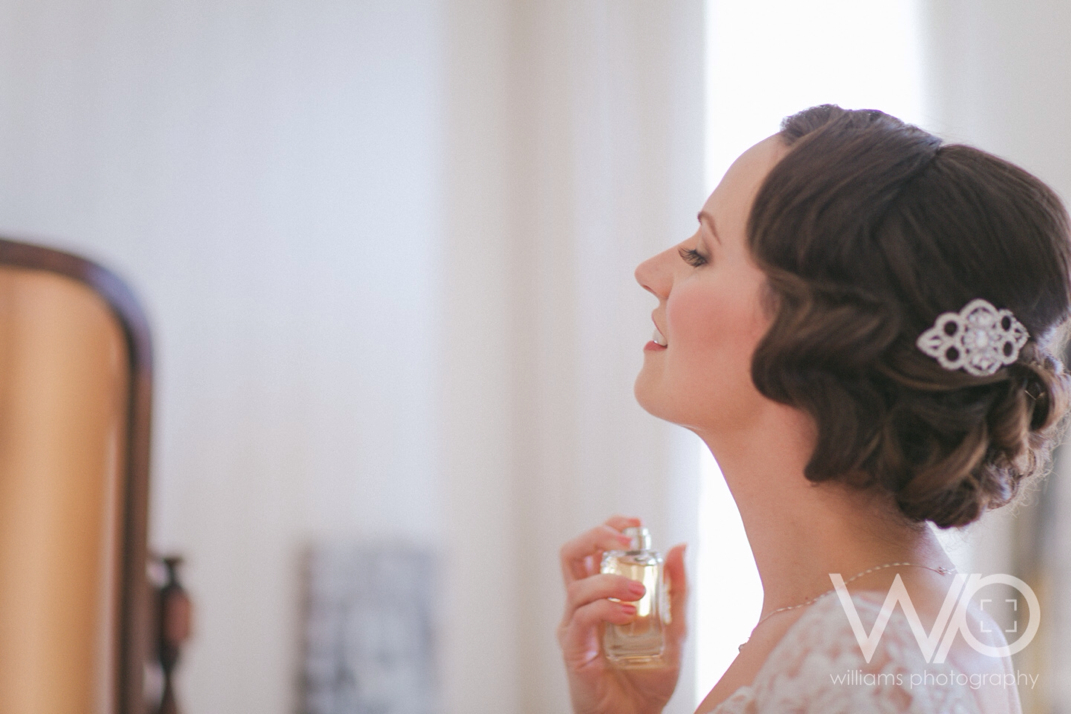
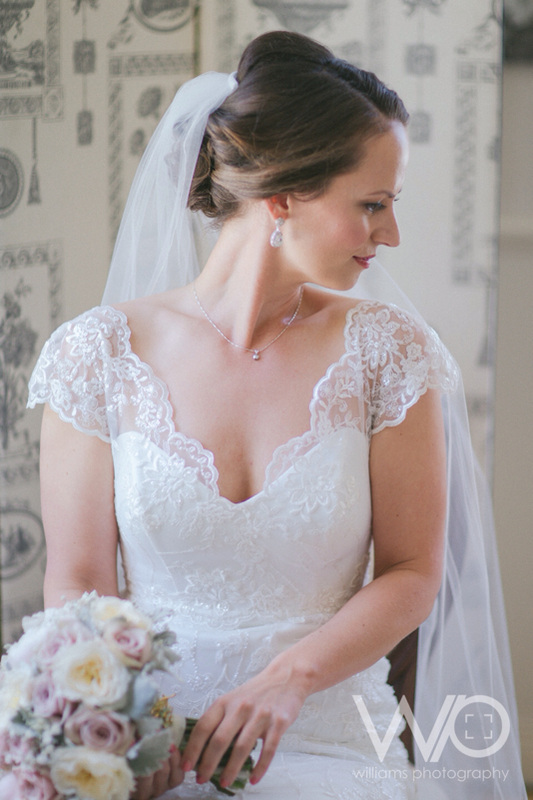
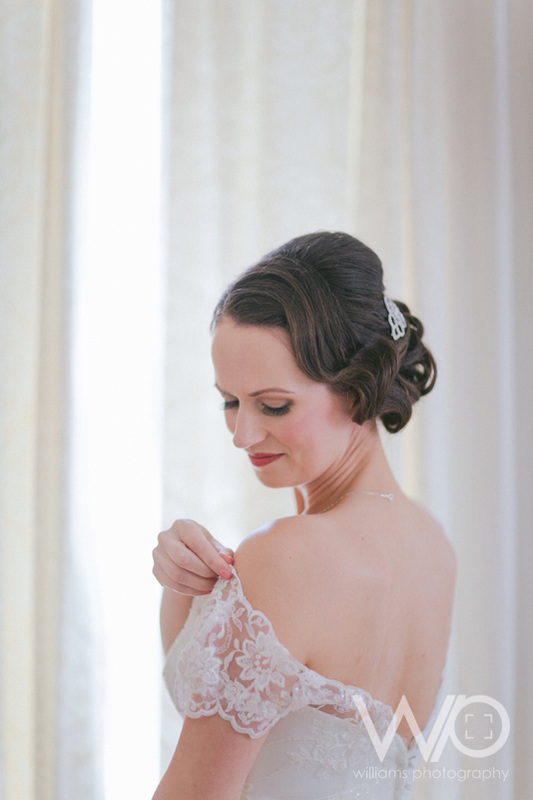
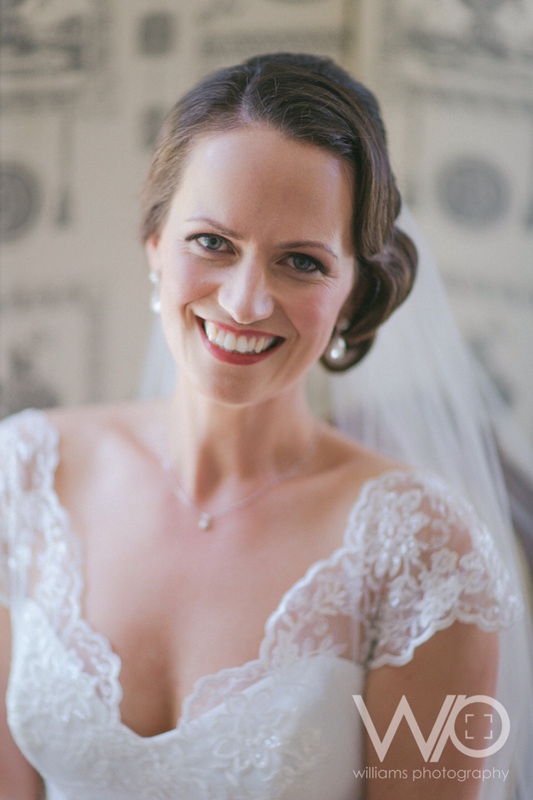
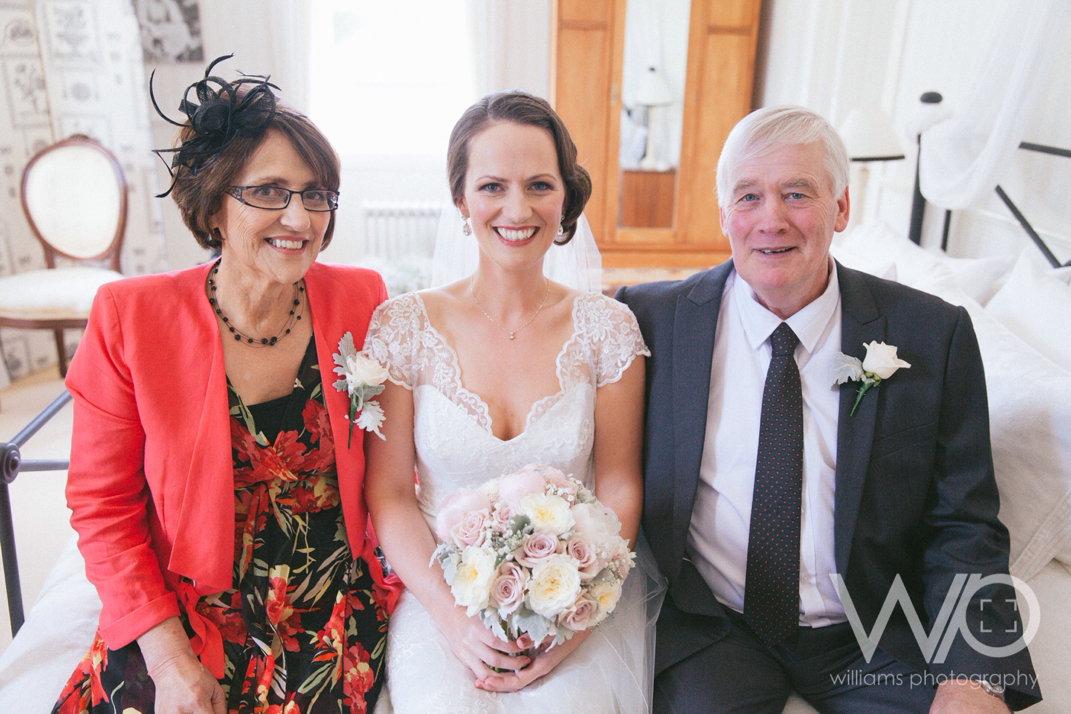
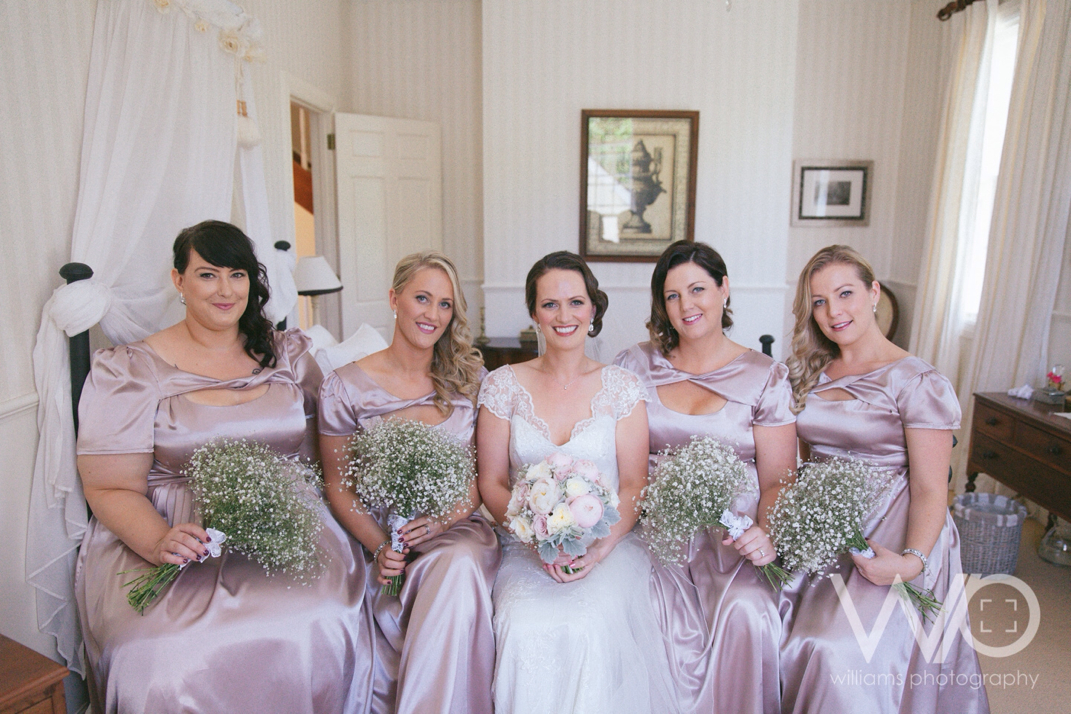
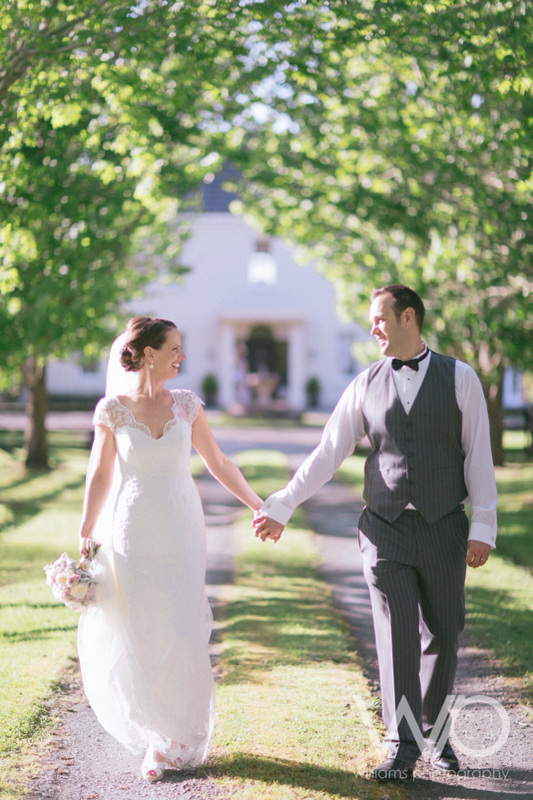
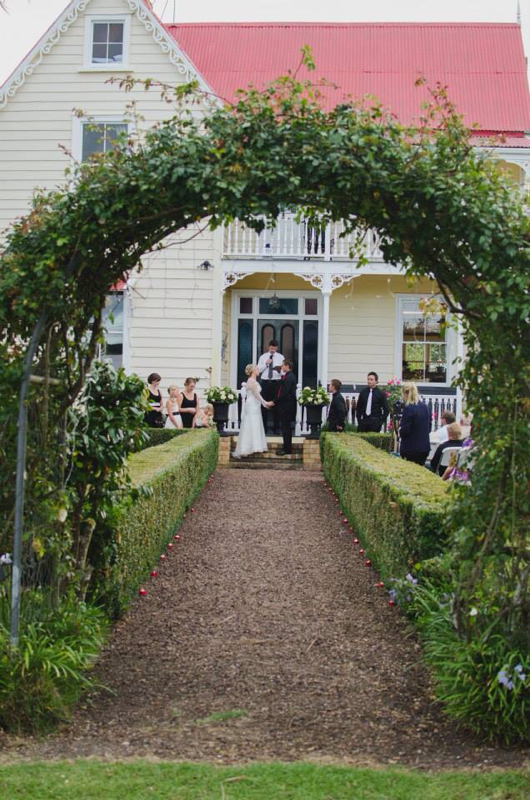
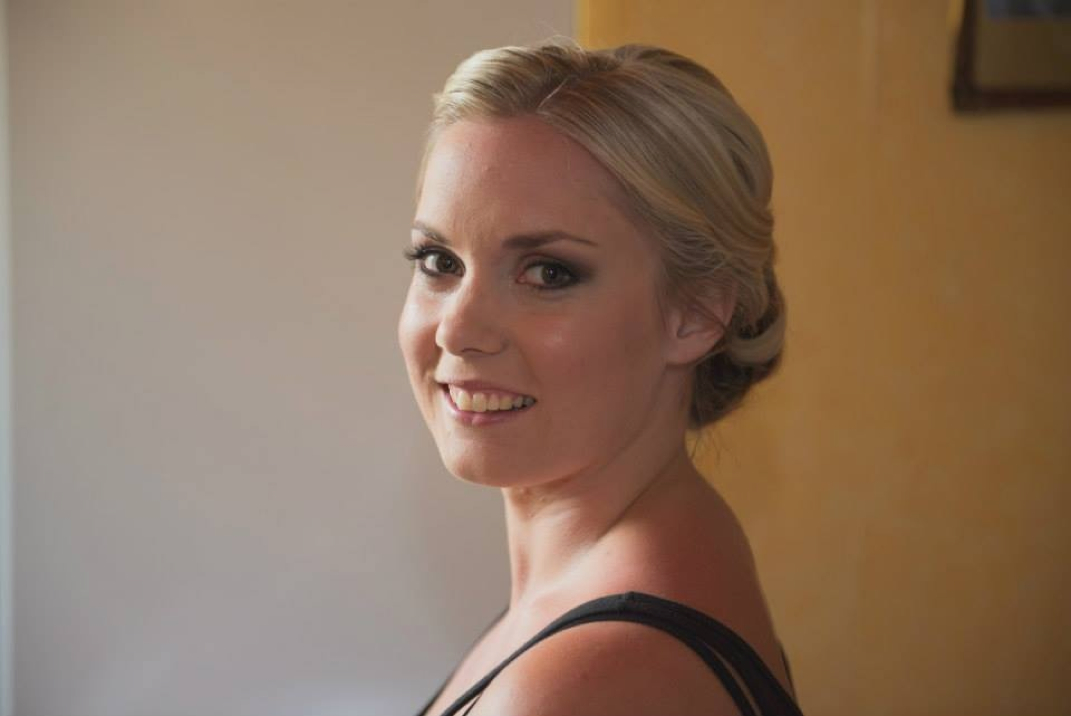
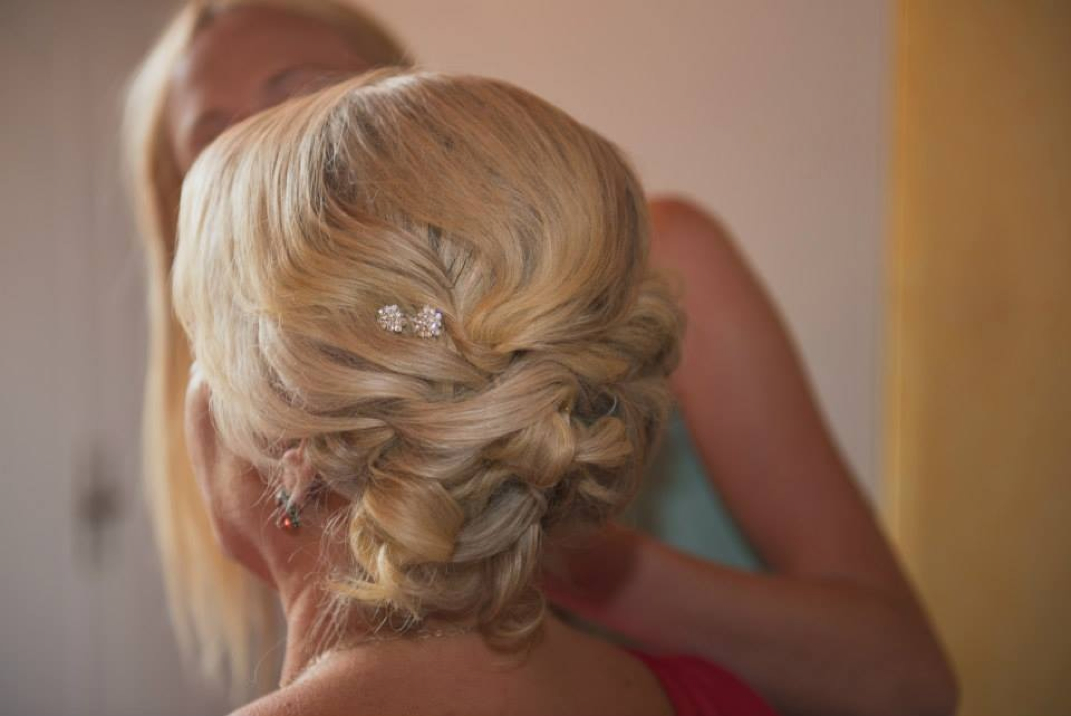
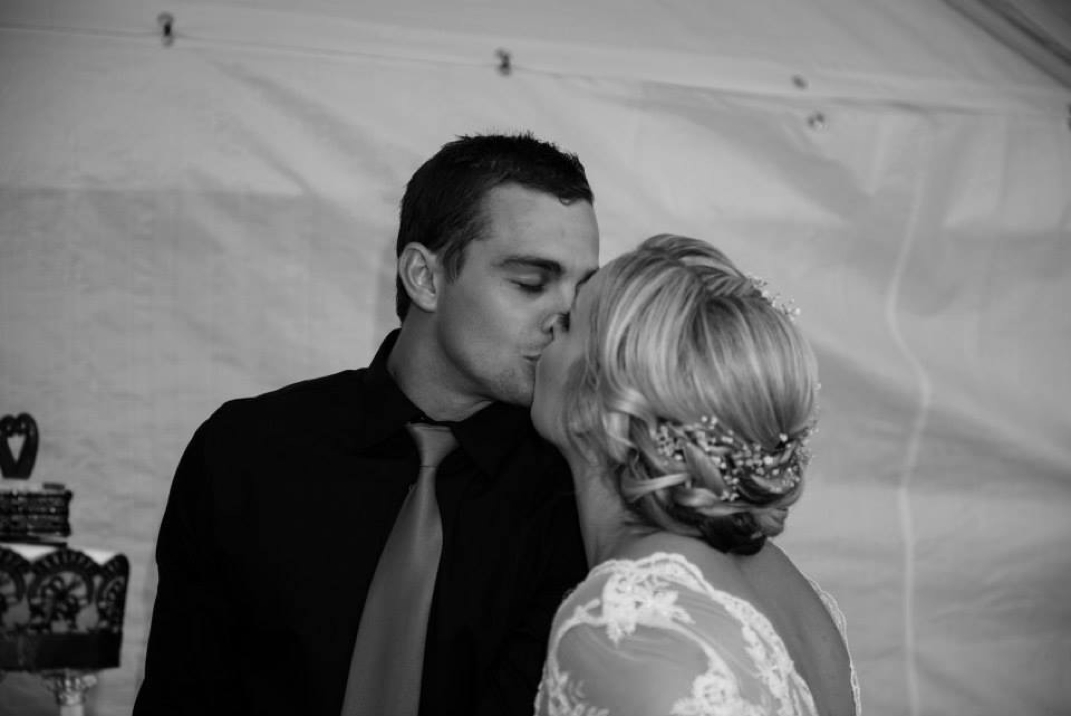
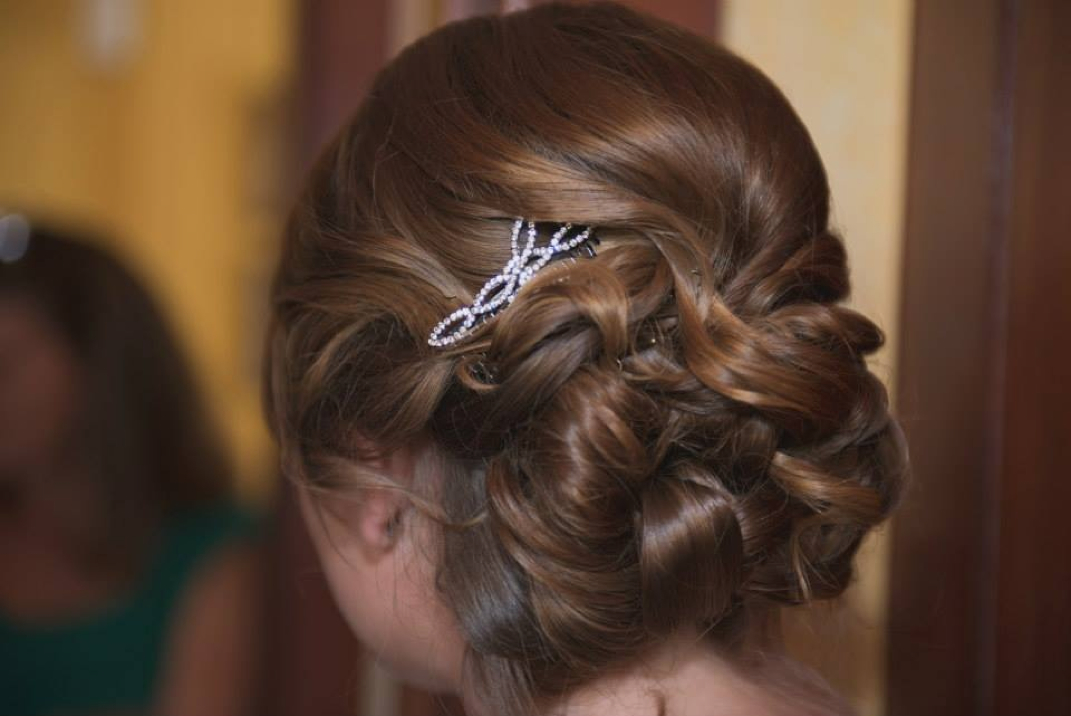
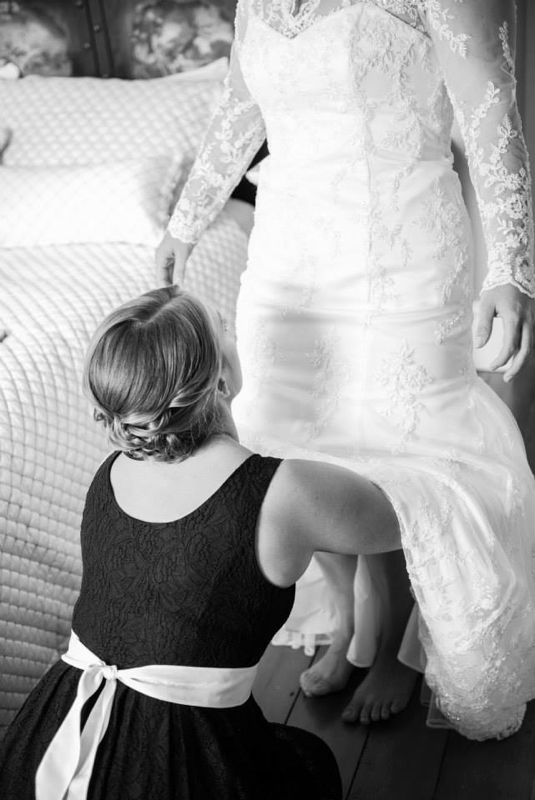
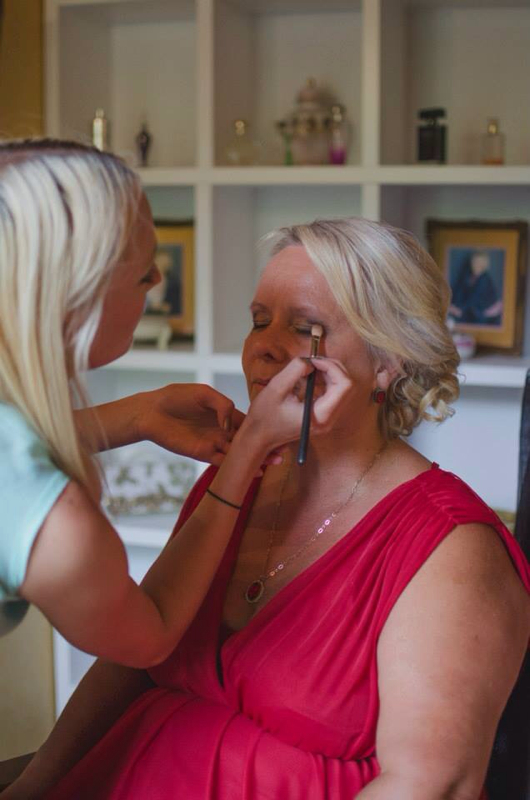
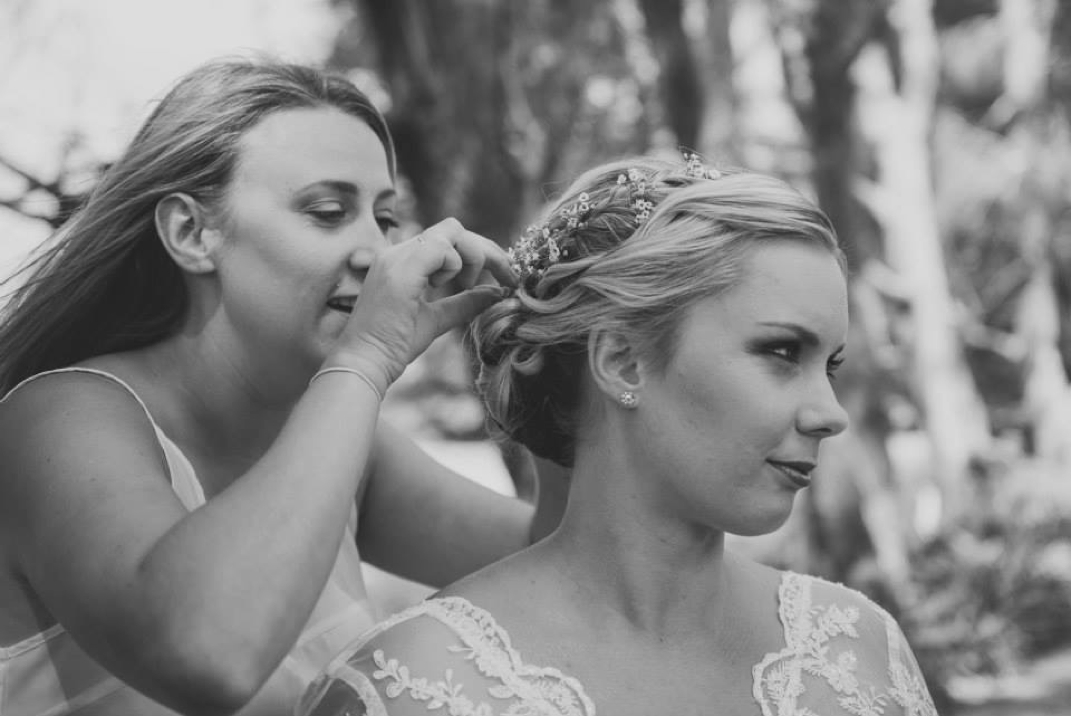
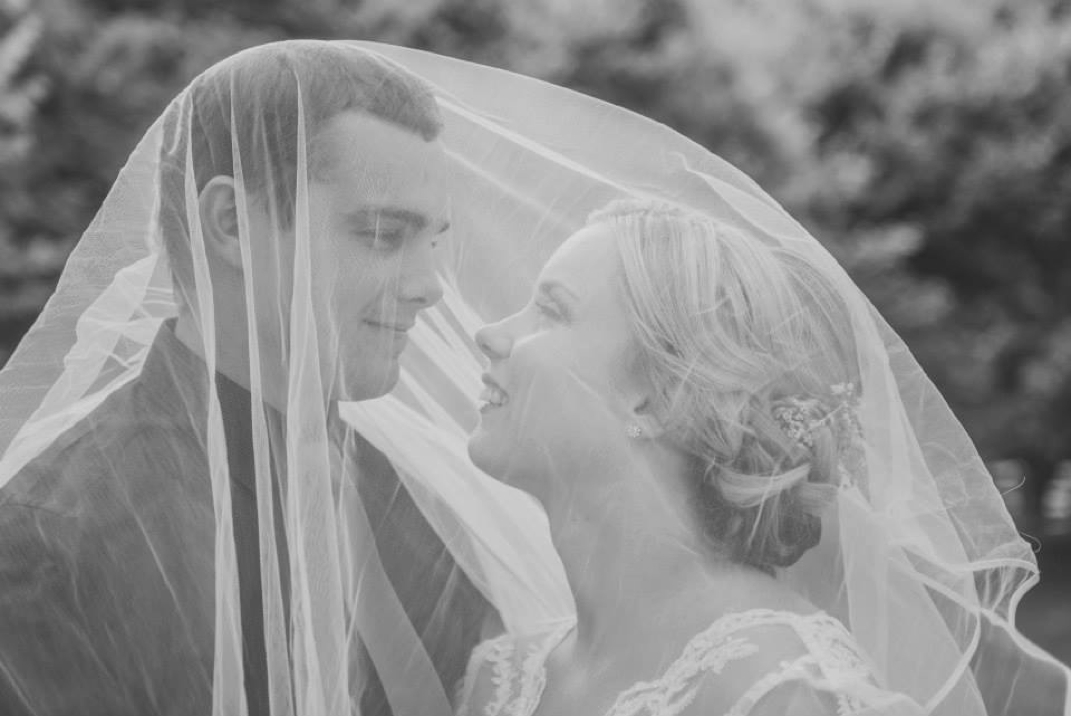
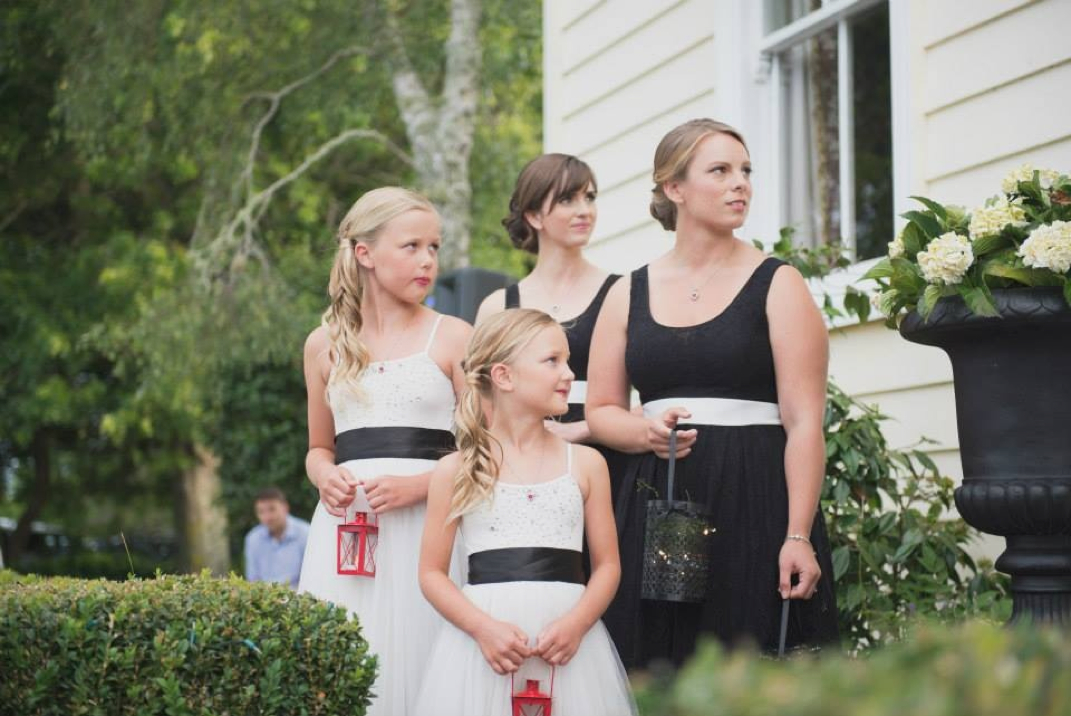
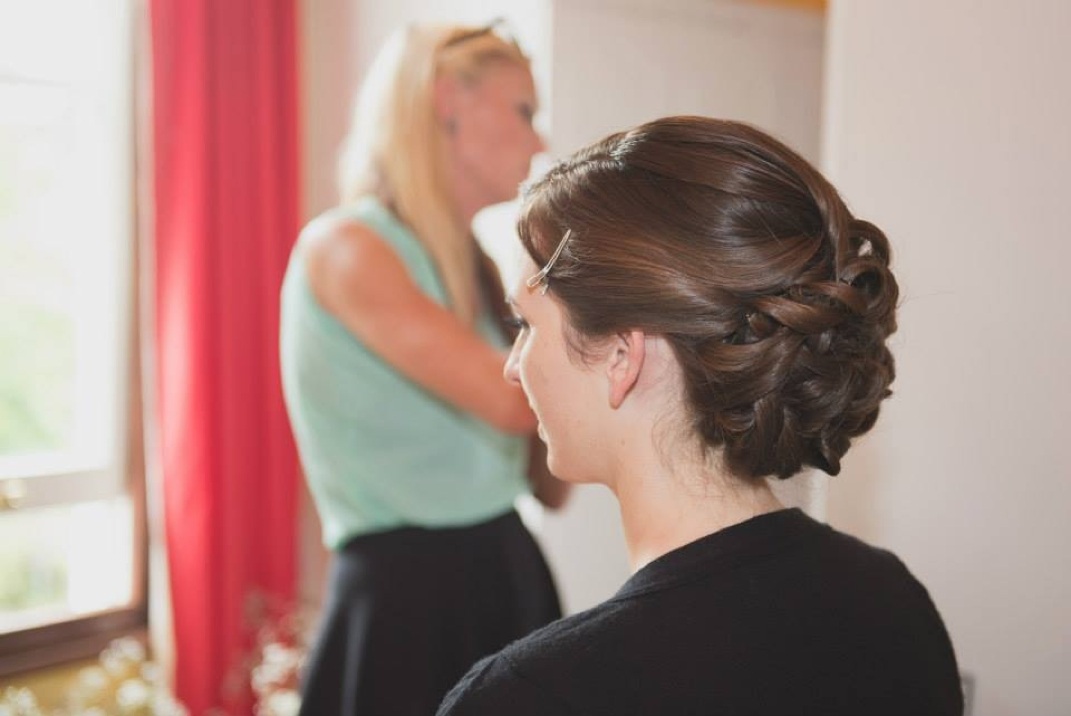
Bride and mother of the brides hair and makeup by myself. Assisted by the talented Elise Wilson who did the bridesmaids hair. Aimee went with a vintage look to go with her stunning wedding gown. Earlier this year Aimee and Dan got married in an evening ceremony at Aimee's beautiful family home in Kaukapkapa. I swear this place was an actual wedding venue. So Stunning. I've just been going through all her amazing photos by the talented Jen at Nova photography. It was so hard choosing so I got soooo many. Enjoy! Had to add a picture of the handsome little page boy Boston. What a cutie. I love their idea of lanterns instead of flowers. So cool. Assisted as usual by my amazing sister Paula. We make a great team if I don't say so myself :) Check out more by Nova photography at www.novaphotography.co.nz Hey guys. I know it's been so long since I have done a blog post - had a very busy year with my little girl who's 15 months old now. But thought I'd get back into it starting with my new favourite everyday makeup product.
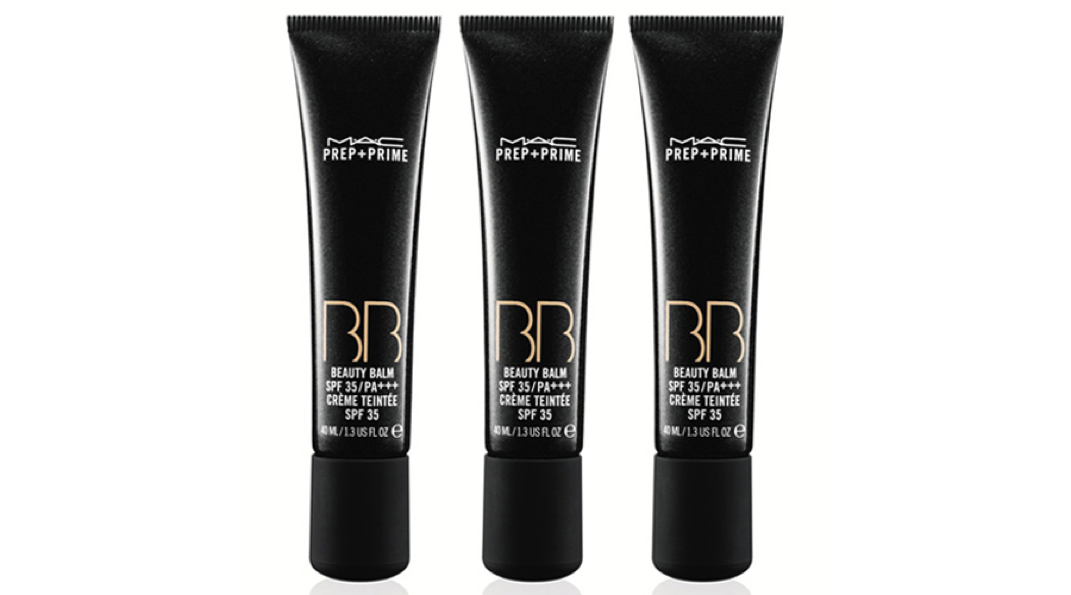
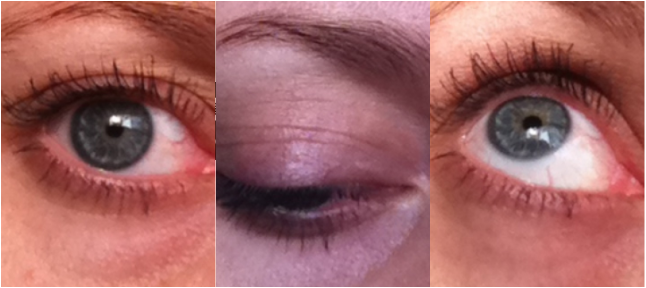
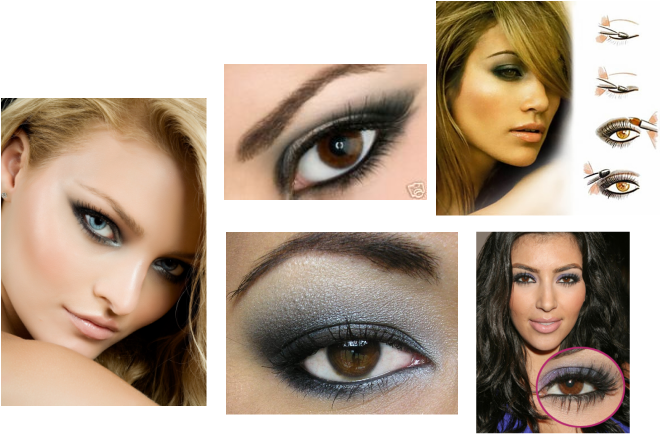
-The MAC prep + prime beauty balm Up until recently they only brought out very light colours I think it was fair, light and light plus. Last week I popped into the mac at st Luke's and I was so happy to see they had released colours for us medium to dark skin girls (and guys) My colour is medium plus. They also had medium and medium dark. I haven't tried that many bb creams to compare it to but as a tinted moisturiser it's so awesome. I just apply it with my hands and I don't have to moisturise first. It's light coverage but gives an all over flawless look. I usually have dark circles under my eyes so I often wear concealer. With this bb cream I don't really have to as it covers enough for a day look. You can use a powder afterwards but I don't find the need to. Just a bit of cream blush and mascara and I'm good to go. It can also be used as a primer underneath your makeup. For a night time look I would definitely go for a higher coverage foundation but if you want something that you can wear every day that is actually good for your skin I can highly recommend this product. Before this I was alternating between the garnier bb creams. In winter I use the normal skin one in the colour medium but in summer it was way too oily for my skin and after a few hours my face was so shiny even with powder on top. I tried the oil free one which would be great for summer but the colour was unfortunately too light for my skin tone. But if you are looking for a cheaper alternative then try the garnier one for sure. Mac bb cream retails for $64 Garnier bb creams are about $16/$17 at Countdown 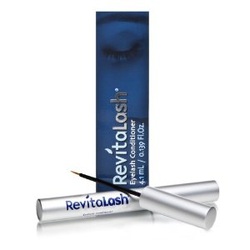 As promised, I am reviewing the Revitalash eyelash conditioner. Revitalash was the first of many lash growth serums on the market. It was originally created by a Doctor for his wife who lost her eyelashes to Chemo. I have only tried this one so I can't compare to others. Directions for use are to use once a day before bed with clean and dry skin. Apply just like you would liquid liner. Directly at the base of your lashes on the skin, as close to the lash line as possible. Top and bottom lashes. Making sure your skin is completely free of all makeup and oil. They say you should start to notice results in about 4 weeks. I have been using this everyday (almost, missed the odd day or 2) for about 10 weeks now and so far I am in love with the results. At first I thought it wasn't making a difference but it was about week 8 where I really noticed it. When I apply mascara now I have to try not to look up until my mascara is dry otherwise the tips of my lashes hit my brow bone and leave mascara marks. Annoying but totally worth it. I even feel like they curl up more than they used to. Now when I do my makeup for a night out I don't feel the need to add false lashes. Thank goodness I'll never have to get eyelash extensions ever again. (Only had them once but I was not a fan). I have noticed that its worked a little bit better on one of my eyes than the other. I am starting to think this might have something to do with the way I sleep. The side that is a bit shorter is the side that I sleep on so I have started applying it an hour or so before I hit the sack to give it time to dry. Will keep you posted if that makes a difference. So if you are lash challenged and don't want to get lash extensions every 3 weeks then I would highly recommend Revitalash to you. Its definitely added a couple of millimeters onto my lashes and they feel so much thicker and stronger. Below are pictures of my results, before and after. I used the same mascara for both pictures, my fave mascara Maybelline Colossal volume express. I now stock Revitalash. If you would like to order please email me for details. [email protected] 2 ml - 3 months supply - $120 3.5ml - 6 months supply - $185 Free postage within Newzealand 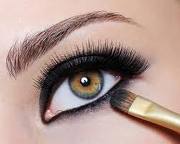 The number one thing girls want to know how to do is a sexy smokey eye. This Is probably the look I get asked to do more than anything else. Once you can do a smokey eye you can kinda do anything. You can use this technique for any colour, shape or size eyes and with any colours you like. Step 1: PREP - If you want all your hard work to last all night, this is the most important step. Just like your foundation (see my foundation application blog post), you need to prepare you eyelid for makeup. Firstly cleanse with a non oily cleanser and rinse so there is no residue left, or you can use a fragrance free baby wipe. DO NOT use makeup wipes as they leave your lid slick and moisturized. Next apply an eyeshadow primer, my fav by far is the urban decay primer potion. I buy mine online from the states (go Ebay!). A lot of brands have eye primers now so any one will do. If you don't have one then you can foundation and powder your eyes first. Step 2: BASE COLOUR - You can do a smokey eye in any colours you like. you just need 3 or 4 different shades. The lightest shade should be close to your skin colour, this should be applied with a fluffy brush from your crease all the way up to your brow. Step 2: LINER - Using a black/dark colour pencil or gel liner or a MAC paintpot, line the top and bottom lashline, then with a firm small brush smudge the liner out so the line becomes 'smokey' (if it sets quickly do one eye at a time so you have time to smudge it) Top the liner with the darkest shade of shadow you have chosen. How high you bring this dark colour depends on how intense you want your smokey eye to be. Don't bring it higher than your crease or you can just have it on top of the liner This doesn't have to be perfect just yet. Step 3: BLEND - Taking the medium colour eyeshadow on a crease brush or a medium sized fluffy brush place this in your crease and blend blend blend. This should soften the edge of your darkest colour and blend it nicely into your lightest colour. You can also go back with a small brush and the dark colour or a black and apply in a V shape on the outer corners, this gives your eye depth in is great for people with eyes on the smaller side. Step 4: HIGHLIGHT - This is optional but I love to go back with a highlighter in a silver, gold or pearly shade and apply on the inner corners of your eyes and very softly directly under the eyebrow. Step 5: LINE WATER LINES - This is also optional and can make your eyes look smaller but lining the inner rims of your eyes finishes and intensifies your look. You can use a pencil or gel liner for this but with a pencil make sure you take it with you so you can re apply during the night as its hard to make it last more than a couple of hours. You can go back again and line as close as you can to the lashes again to give it a bit more pop. Step 6: Last but definitely not least is MASCARA - Apply 2 or 3 coats of black mascara, Wiggle the wand from root to tip to get every last lash. My Fav at the moment is the Maybelline Colossal volume express, and at only about $22 its very affordable! Here's some pics to use as guides. Enjoy!! Welcome to my beauty blog. Here I will share with you tips and tricks of the trade.
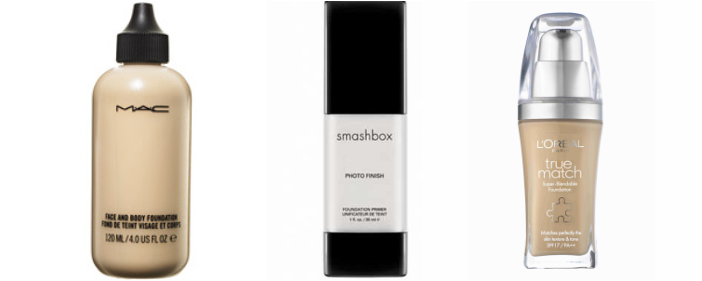
I thought I'd start with the basics. Foundation. 1- MOISTURIZE. To get the perfect base you need to start with a moisturizer suited to your skin type. If you have oily skin then apply an oil free or an oil absorbing moisturizer. If you have dry skin then use a rich creamy moisturizer but go easy. You don't want a slick base for your foundation to just slide right off. Let the moisturizer set for a few minutes. If your foundation has no SPF I'd advise your moisturizer has an SPF of 15-30 2- PRIME- Then if you tend to get oily, or your foundation never seems to stay on, apply a primer. I recommend the Smashbox Photofinish foundation primer. Found at any Smashbox store or online. Let it set before the next step. I use this primer on every face I work on. 3- FOUNDATION- Now lets apply foundation. I highly advise to use a light foundation first on your entire face. My Favourites are M.A.C face and body, Chanel Vitalumiere Aqua foundation or on the cheaper side of things the LOreal True Match Liquid foundations. All are all very light, they even out skintone with out caking up. Using a makeup sponge or the tips of your fingers, apply dots of foundation on your chin, cheeks, forehead and tip of the nose. Makeup artists swear by foundation brushes to apply product. They soak up less foundation and blend flawlessly. If you tend to get dry or flakey skin then lightly dampen the sponge or brush first. Blend, Blend, Blend. 4- CONCEAL- Once blended out then you can go ahead with a concealer or a thicker foundation and apply it only where you need it, using a smaller brush. You will get a much more flawless and natural look this way instead of the 'Mask" effect. Blend out edges of concealer until it looks invisible. 5- SET- To set your foundation and concealer, apply a light powder with a big fluffy brush. My absolute fav is the M.A.C mineralize skinfinish powders. They set your makeup without drying or flaking and leave a soft velvet finish. Then you can go ahead and apply your blush, highlight, contour etc. TIPS. - If you have redness in your skin you want to cover up then use a warm/yellow toned foundation. - I always buy 2 colours of foundation so that weather its summer or winter you can mix them to get your perfect shade. Also a tip for making your face look slimmer is to apply your foundation 1 shade lighter down the center of your face (forehead, nose, chin) then on the outer part of you face apply it a shade or two darker, Blending between the 2 of course so you don't have obvious lines. This give the illusion that your face is longer and slimmer. Amaze! - At the end of your foundation routine you can spray a finishing spray to set and also give a more dewy effect. Some available are the M.A.C fix+ spray, Model in a bottle setting spray (i got mine off ebay from America) or Urban Decay have just come out with one called the All nighter spray, which I've heard great things about. - To get a luminescent appearance you can mix a few drops of shimmer into your foundation or pat it on top before you apply your powder. Smashbox Artificial light or M.A.C are both awesome! Please feel free to leave questions or comments. I have not been paid to promote any of these products. |
AuthorLexia Dyer makeup and hair beauty blog Archives
April 2015
Categories
All
|


 RSS Feed
